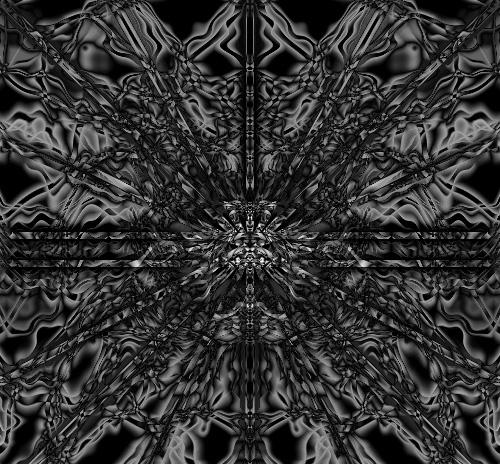
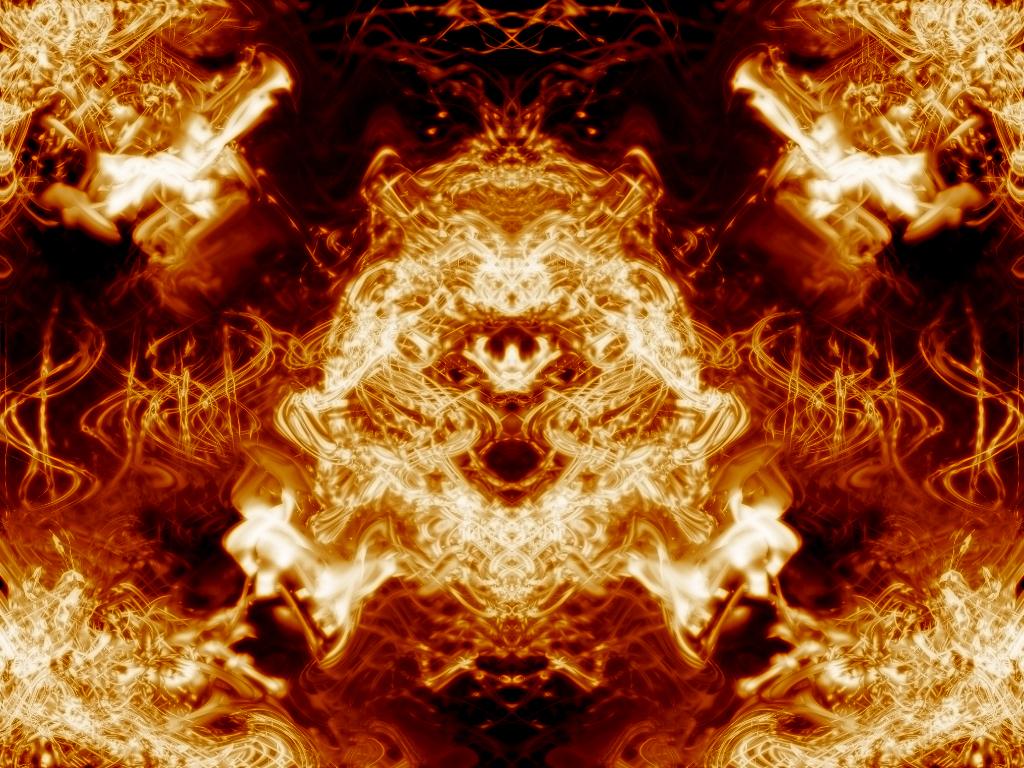
This tutorial will show you how to create cool(imo) background/sigs/etc. Here are a few examples of some I've created. The cool thing is, they turn out different every time.
Step 1:
Open photoshop and create a new document of your size, for this tutorial I'll be using the size 500x500.
Step 2:
Next, color the background black with the paint bucket tool by clicking the paint bucket then clicking on your canvas. Make sure the foreground color is set to black.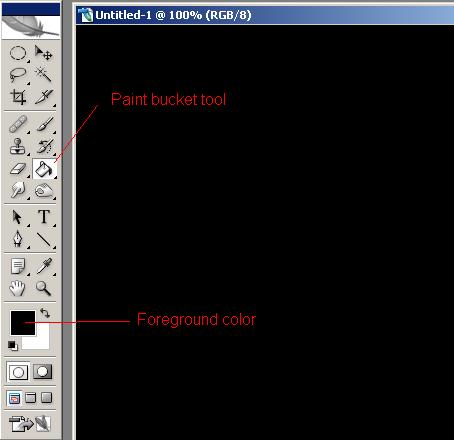
Step 3:
Next, apply some lens flares by going to Filter>Render>Lens flare. Apply them whereever you want on the canvas. NOTE: You don't have to use lens flares, but I think you should use them until you get enough experience at this technique to move on to pictures, etc.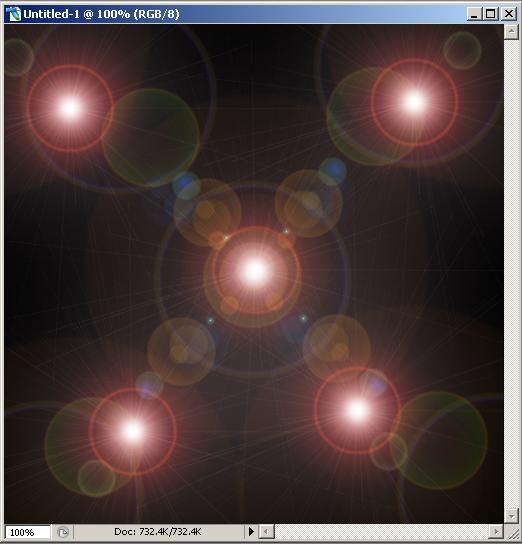
Step 4:
Next, apply chrome to the lens flares by going to Filter>Sketch>Chrome. Set the detail to 10, and the smoothness to 0.
Step 5:
Next, press ctrl-j to copy the background into a new layer, then with the new layer selected on the layer pallete, go to Filter>Distort>Wave. Leave all the settings on default and click randomize a few times. Then click ok. Change the blend mode of that new layer to lighten by going on the layers pallete, and click the down arrow where it says normal, then click lighten. The hit ctrl-E to merge the two layers. Repeat this step 2 or 3 times. After that you should have something similar to what I have below.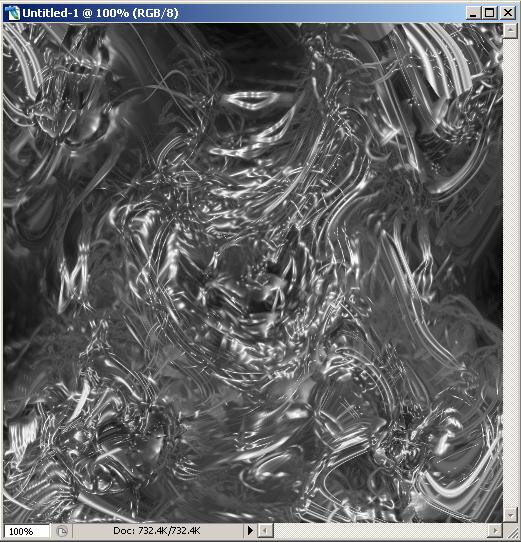
Step 6:
Next, hit ctrl-J again to get a new layer. With that new layer selected, go to Edit>Transform>flip horizontal. The change that layer blend mode to lighten and hit ctrl-E. Here is my result so far.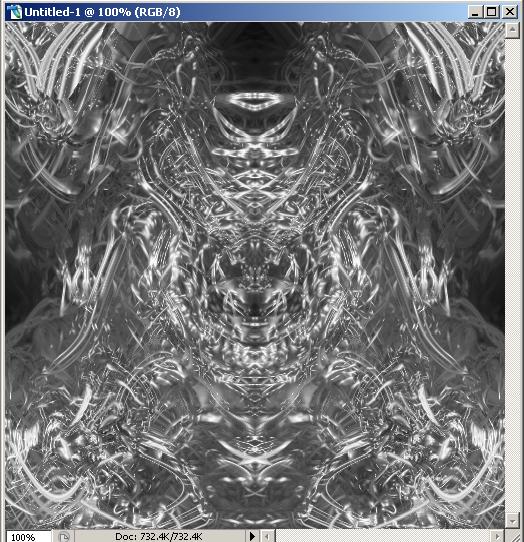
Step 7:
To color your design, hit ctrl-J to get a new layer, with that layer selected, go to Filter>Blur>Gaussian blur. Put the radius to 3.0 then hit ok. After that hit ctrl-B to open the color balance, then color it in as you wish. You can change the color layers blend mode to whatever you want because you get different results with each blend mode. here is my result with my color balance set with the top silder all the way over to the red, the middle slider all the way over to the megenta, and the bottom slider set all the way over to the blue, and my blend mode set at Pin Light.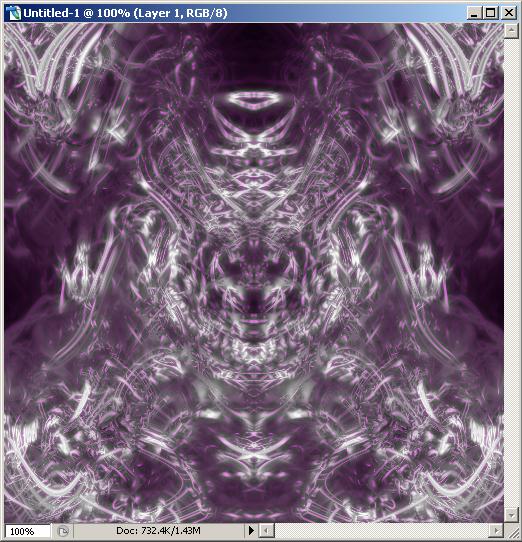
That's it. You can play around with pictures of people, other designs, anything you want. You imagination is your only limit here. Enjoy.


No comments:
Post a Comment