Start:

Finish:
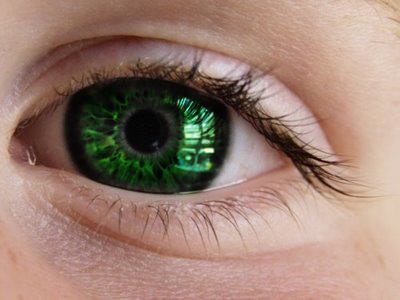
First, open up your image in Photoshop, and zoom in on the eye(s) you wish to color.
NOTE: A quick way to zoom in and out, hold down CTRL and press the =/+ key to zoom in, or the -/_ key to zoom out.
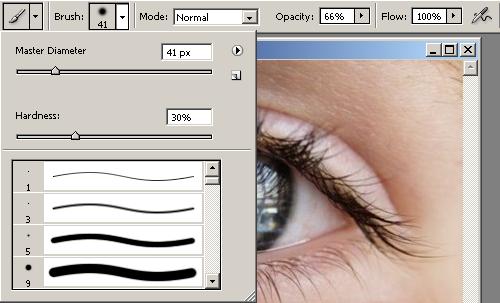
Now, select your paint brush and choose a size appropriate for your image. Next, adjust your hardness. I keep mine about 30% for this.
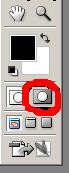
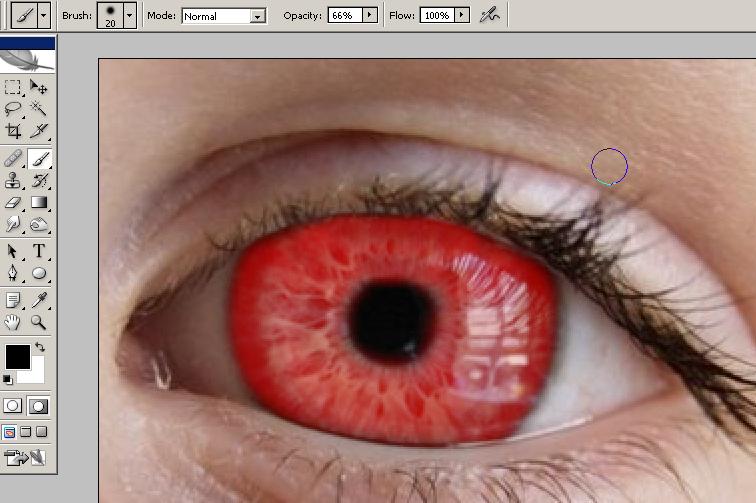
Next, hit Q or click the Quick Mask button(circled in red below) to go into quick mask mode. From here, color your eye in with the paintbrush selected in the 2nd step.
Now, go back to standard mode by hitting Q again, Everything but the eye should be selected.
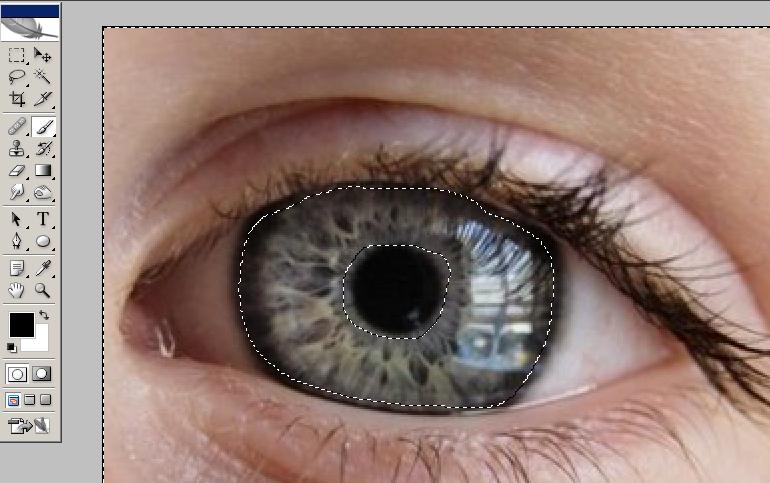
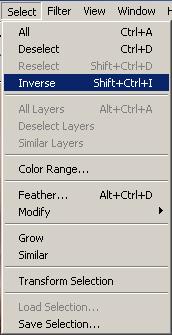
To select the eye, go to Select>Inverse, or hit SHIFT+CTRL+I.
Now, create a layer from the selected portion by hitting CTRL+J. When you have created this layer, and have selected it, hit CTRL+B to bring up the color balance. Play around with the colors till you get what you like. Color balance isn't the only way to edit it, now that you have a layer from the eye, you can edit it any way you like.


No comments:
Post a Comment