Monday, November 24, 2008

Absolute beginners guide to Photoshop - The basics

Hi!

In this tutorial I will teach you the very basics of Adobe Photoshop, everything you need for a good foundation to build on.

First off, I will assume you are new and opening up PS (PhotoShop) for the very first time, or maybe you've opened it before but were intimidated by the vast amount of controls and buttons on your screen. Don't worry, I will teach you the basic controls and how to use them here.

Note:
I am using Adobe Photoshop CS2 for this tutorial. Different version vary slighty, but with this guide you should be able to figure it out fairly quickly.

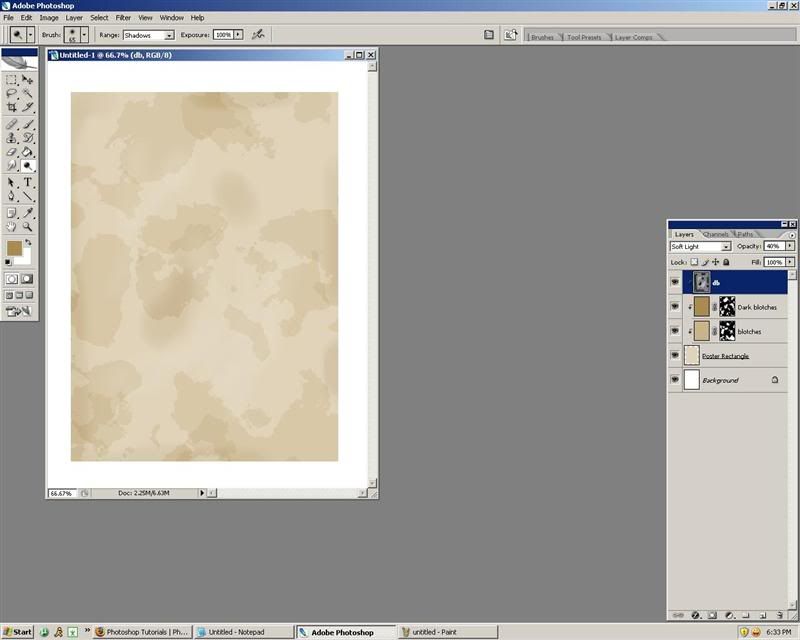
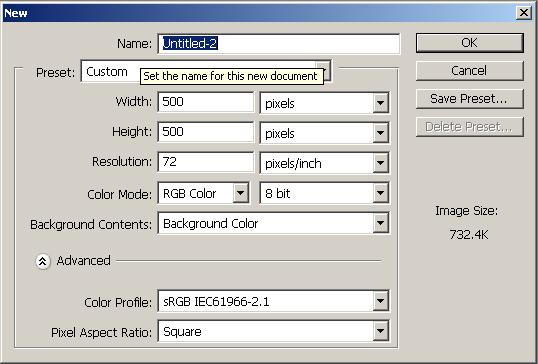
When you first open it up, it may take some time to load. This is normal, and depending on your computers hardware, can take up to 2 minutes. When it is done loading, you should be staring at a screen similar to mine.

screen1mediumyi1.jpg


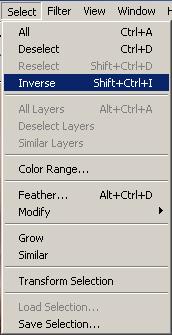
If not, don't worry. Go up to the top, and click on "Window". For this tutorial, you will only need a few of the windows open. Make sure "Layers", "Options", and "Tools" are check marked. The rest should be unchecked. They are not needed for this tutorial and will just confuse you and clutter up our workspace.

screen2mediumga5.jpg


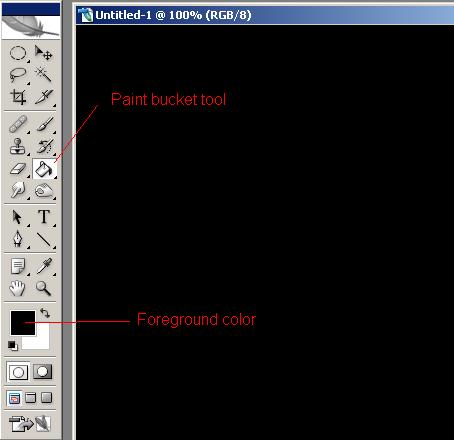
I'll start with the Tools window. This is the one on the very left of my screen. This will be the box you work from most. It contains all the tools you need for photoshopping. I've created a list of the basic tools, and what they do below, if you don't know which tool is which, let your mouse hover over the tool for a second or two, the name should pop up. The little arrow at the bottom of each tool icon means they're is more than one tool, right click to see the rest of them. To name all tools would take quite a while, so I wont do it here. You can visit this site to see a list of all tools, as well as the icon for them. As well as excellent movies for there use. I highly advise you watch these videos.
http://simplephotoshop.com/photoshop_tools/indexf.htm

These are the tools I use most, and you probably will to.

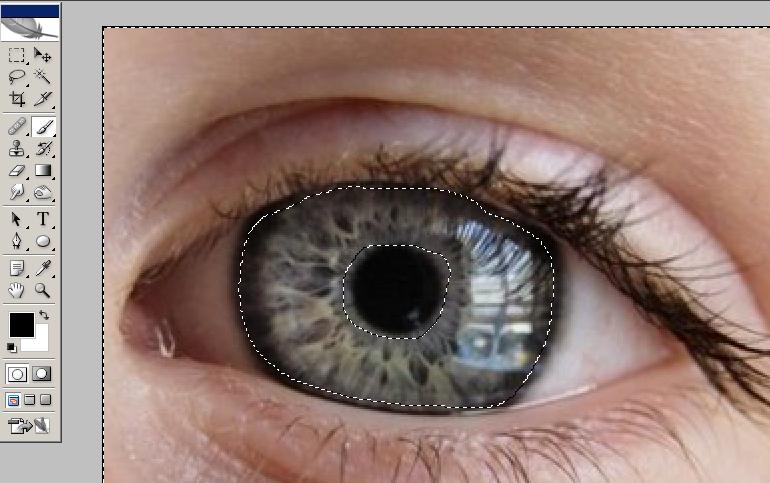
Lasso tool
- This tool is something I use more than anything. It allowed you to select a portion of the image, move it, and cut it out. This is the very basic tool for cutting and pasting heads, etc.

Clone Stamp tool
- This is the tool you use clone a certain area, and stamp it to another. A very handy tool. For example, say you have a body on a wooded background. You cut out the body, but the background is all messed up now! No problem, take this tool, define a clone area with ALT+click, and being repairing the area. This is a basic repair tool and used a TON by me.

Eraser tool
- This is pretty much self explanatory. Use this to erase parts of an image.

Smudge tool
- This is a tool I don't use as much as I should, but I'll still mention it because it's that important. This tool is your gateway to the world of blending. Blending is just making two seperate parts match. I use this tool to go along the border lines of attached body parts to smudge the two together.

Type tool
- This is the main text tool. You use this tool to add text to an image.

Pen tool
- This is the tool I use most for selecting image parts. You can see a tutorial for that here.

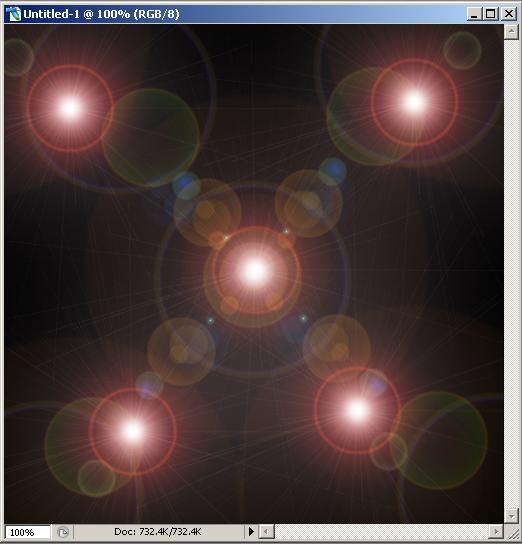
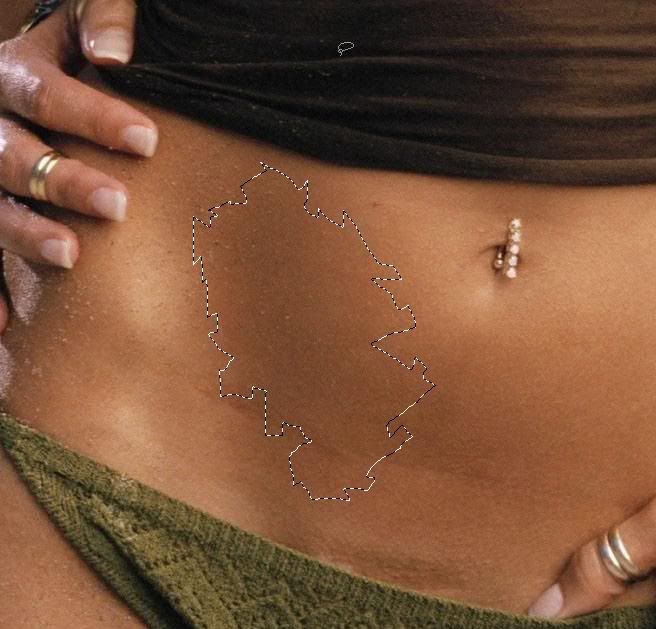
That's it for the most basic of tools. Now, we can move on to the fun part. Open up your first image, it can be anything you want. Go to File < Open, or hit CTRL+O. Once it's open, I want you to make a small selection. You can use either method for this, the lasso or the pen. With the lasso, just trace around the area you want to select, with the pen, follow the tutorial mentioned above. Once you've made your selection, you're ready to dive into layers. Hit CTRL+J to copy the selected area into a new layer. You'll notice that on the layers pallete to the very right, you now have two layers. This is your first start working with layers, and as time goes by, and you get better, you may very well have chopz with 20 or more layers.

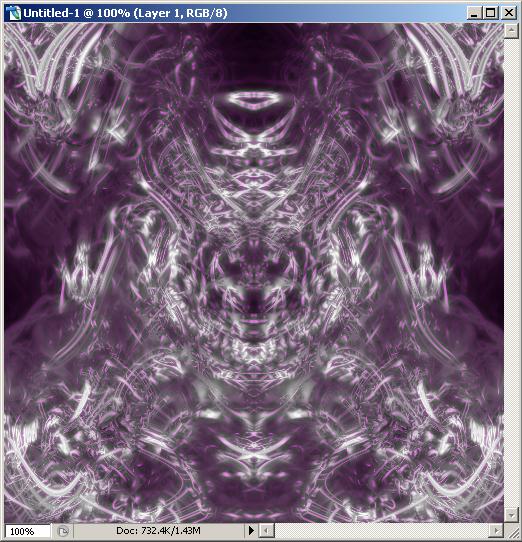
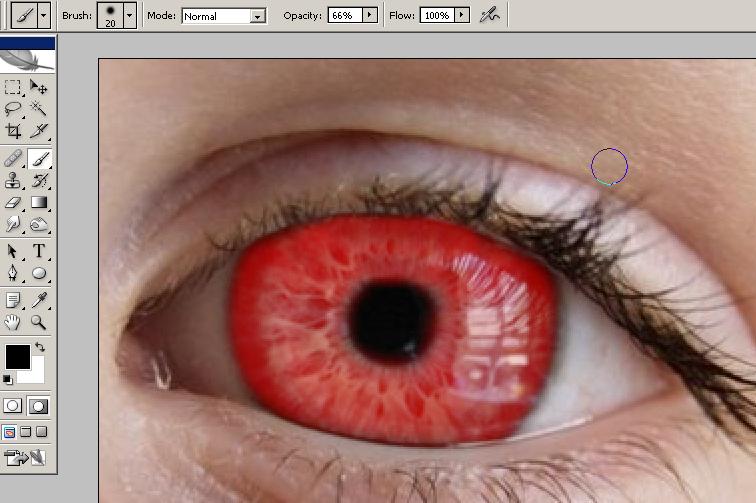
Next, we're going to try a little bit of fun. With the 2nd layer selected, hit CTRL+B to bring up the colors pallete. Move the colors around a bit to change the color of your selection. Pretty fun, huh? Try changing the blend mode as well. You do this by clicking the down arrow where it says "Normal" on the layers pallete. Experiment with all of them to get a result that you want. This can be very handy for blending faces onto animals and the like.

Now that we've had a bit of fun, it's time for some more! I want you to just experiment with all the tools for a bit, get a feel for them and what they do. I'll continue this tutorial later on, as part the Absolute beginners guide.

Create a cool Wanted poster in photoshop

First, I want to say one thing. I DO NOT take credit for innovation here, I learned this technique a long time ago from another tutorial, and saved the key points in a notepad file(like always, it's a good habit), and want to share it with you guys. This tutorial may be hard for beginners, and I consider it advanced. Just a warning. This may be hard to read, and I used minimal images. Sorry about that, this took probably 2 or 3 hours to type up and work in photoshop at the same time, and I started getting a little lazy lol.

Ok, open a new file, and size you want. I'll be using 768x1024 for mine. It's best to use a larger height than width for this.

Create a new layer, name it anything you want. I'm naming mine "Poster rectangle".

Next, grab the rectangle marquee tool and draw a rectangle on the "Poster Rectangle" layer.

Change the foreground color to a good beige color. I'll be using #e0d3ba for mine.

Fill your rectangle with the paint bucket tool, then deselect the rectangle by hitting CTRL+D.

Now change your foreground color again. This time, to a darker beige. I'll be using #cab387 for mine.

Now create a new layer, and name it something like blotches or something.

Fill this new layer with the darker color. Hit CTRL+ALT+G to clip the two layers.

Next, add a mask to the layer. This can be done by clicking the add layer mask button in the layers pallete. It's a little square with a white dot in the middle.

Now change your foreground and background colors back to white and black, hit D to do this.

Now add a clouds filter, Filteradjustment>levels.

Now move the sliders around on the levels window, to your prefference. They should all three be touching each other though.

Creat a new layer, name it dark blotches or something. This is going to be a second set of darker blotches.

Change the foreground color again, this time to something darker. I'll be using #a98b51 for mine.

Color the layer again with the paint bucket, and clip the layers with CTRL+ALT+G.

Add a mask, hit D to change the foreground colors back. Use the clouds filter again just as before. Adjust the levels again, just like before.

Change the opacity of the dark blotch layer to something between 15 and 20. Change the regular blotch layer to something between 35 and 40.

With the top layer selected, creat a new layer and name it anything you want. Go to edit>fill and set it to 50% gray in the use box.

Clip this layer (CTRL+ALT+G) and set the blend mode to soft light. I'm not sure what the point of this step was, but I had it marked as important.

Select the burn tool, and select a medium soft brush with a size according to your image size. I'll be using size 90. Set the range to shadows.

Now, start to burn some of the paper. Edges, middle, etc. Any part you want darker.

Now select the dodge tool, same settting, and make some of the areas lighter. Now change this layers opacity to 40-50.

here is a quick look of what I have so far.

screen1Medium.jpg


Now, we ned to make some of the blotches a little blurry. Click on the dark blotch layer, and add a gaussian blur of 2-8 depending on your image size.

Experiment with this for best results. Do the same with the other blotch layer.

Now we need to add some texture to this baby. With the top layer selected, create a new fill layer by clicking on the little circle that's half black half white on the layers pallete. Use the texture option, and fill it with a rock>textured tile pattern. Make sure to set the scale to 60 when selecting the pattern.

Now change the blend mode to linear burn and the opacity to 25-35. Clip the layer with CTRL+ALT+G. Change the opacity to 35.

My result so far.

screen2Medium.jpg


With the top layer selected, create a new layer. Go to edit>fill and select 50% gray in the use box. Set the blend mode to soft light.

Go to filter>noise>add noise. Use 10% and check the box that says monochomatic. Make sure the distribution is uniform as well. Clip this layer with CTL+ALT+G.

CTRL+Click on the rectangle layer to select it, go to menu and select>modify>contract. Put the value at 5. Add a mask to this layer by clicking the add mask button.

Now go to filter>brush strokes>spatter, and put 15 to 20 for both sliders. Select filter>blur>gaussian blur and use the number 1.

Go to image>adjustments>levels. Enter 160 - 1.00 - 195 in the input levels. This was to smooth out the edges a bit.

Get your brush tool, select a round brush with a hardness of 0 and a size of 1 to 10 depending on the size of your image. make sure the rectangle layer is active.

Hit D to change the foreground and bground colors back to normal, and hit x to switch the foreground to black if it isn't already.

Add some rips to the side of the paper with the black brush. It's a lot easier to zoom in and do this.

Here is what I have after adding some rips.

screen3Medium.jpg

Select the top layer, and hit the create new layer button. Go to edit>fill and use 50% gray like before. Set blend mode to soft light, and clip the layer(CTRL+ALT+G).

Now select the burn tool, select a medium soft brush with a size between 20-50. Set the range to shadows. Start making some of the edges a bit darker to add realism.

Now select a much bigger brush, 70 to 90, and set the exposure to 30 and go over the edges again.

Select the top layer, and create a new layer. Select the pencil tool with a size of 1 and opacity of 100. Make sure your foreground is set to black.

Draw some scratches on your image, and then hit X to switch colors, and draw some more scratches. Set the blend mode to soft light, and opacity to 45-50.

Select the rectangle layer, and grab the brush tool. Select a brush with a hardness of 100, a size of 10, and opacity and flow of 100.

Remove the top and bottom corner, at an angle opposite of each other. Right top and bottom left, right left and bottom right, etc. Only remove 2 corners though.

Click on the top layer, and add a new layer by hitting the add new layer button. Grab the rectangle marquee tool, and make a rectangle like the one in the screenshot below. It's to hard to explain.

screen4Medium.jpg


Set the forground color to #dcceac and fill in the square with the paint bucket. Do the same thing with your other corner. Set the blend mode to lighten.

Now set the foreground color to a darker brown. I'm using #998257.

Select a soft brush, size 1, and zoom in really close on the corner. Paint a curved line on the inside of your corner. The curve gives it the folded look, so you may want to experiment with this.

Do the same thing with the other corner.

I added some burn to the fold, to give it a more realistic look. Try this yourself and see how it comes out.

Click on the layer below this layer, and create a new layer so that it is under the folds layer.

Select a soft brush with a size of 25. Draw the shadow only ONCE under the fold.

This is what I have so far.

screen5Medium.jpg


Now add a layer group. Click the little folder icon on the layers pallete. Now create a new layer.

Select the text tool, and begin writing whatever text you want. Rasterize each text layer by selecting the layer and going to layer>rasterize>type at the top.

Click on the layer group of the text layers, and change the opacity to 60. Add a layer mask to the text group by clicking the add layer mask button.

No go to filter>noise>add noise. Set the amount to 40, the distribution to uniform, and check the monochromatic box.

That's pretty much it for the text. You can warp it a bit with liquify to give a better appearance. That's up to you.

You can also add an image to it, and play around with it to get a decent effect.

Here is my end result for this tutorial..(inside joke for the site I made the tut for.)

slashmissing.jpg


Be creative, and most of all, have fun!

Create Flames in Adobe Photoshop

This tutorial will show you how I make flames in Adobe Photoshop CS2. It's real easy to do and can be applied to almost anything.


EXAMPLE:

avatarfa2.jpeg


Step 1: The first step is to create a document in photoshop of any size. For this tutorial I'll be using 500x500. Make sure that your background is black.

step1rd0.jpeg

Step 2: The second step is to make a new layer by hitting shift+ctrl+n and naming it "flames". Then take the paint brush, set the color to white, and select a soft brush. I'm using size 21. Then draw a straight line across the bottom like so.

step2dj9.jpeg

Step 3: Now select the smudge tool and start smudging you white line as if you were making flames. The smudge tool is located right below the eraser. Here is my end result.

step3dk0.jpeg

Step 4: Next, with the flames layer selected, hit ctrl+b to bring up the colors. Choose the colors you want for your flames and then change the blend mode to whatever you think looks best. Here is my result with varying colors and my blend mode set to "exclusion".

step4rz6.jpeg


If you have any questions, ask them here and I will help.

Create cool designs in Photoshop for signatures, backgrounds, wallpapers, etc

This tutorial will show you how to create cool(imo) background/sigs/etc. Here are a few examples of some I've created. The cool thing is, they turn out different every time.


graythumb.jpeg

redthumb.jpeg


Step 1:


Open photoshop and create a new document of your size, for this tutorial I'll be using the size 500x500.

size3ho.jpeg


Step 2:


Next, color the background black with the paint bucket tool by clicking the paint bucket then clicking on your canvas. Make sure the foreground color is set to black.

step29lc.jpeg


Step 3:


Next, apply some lens flares by going to Filter>Render>Lens flare. Apply them whereever you want on the canvas. NOTE: You don't have to use lens flares, but I think you should use them until you get enough experience at this technique to move on to pictures, etc.

step31da.jpeg


Step 4:


Next, apply chrome to the lens flares by going to Filter>Sketch>Chrome. Set the detail to 10, and the smoothness to 0.

step46xb.jpeg


Step 5:


Next, press ctrl-j to copy the background into a new layer, then with the new layer selected on the layer pallete, go to Filter>Distort>Wave. Leave all the settings on default and click randomize a few times. Then click ok. Change the blend mode of that new layer to lighten by going on the layers pallete, and click the down arrow where it says normal, then click lighten. The hit ctrl-E to merge the two layers. Repeat this step 2 or 3 times. After that you should have something similar to what I have below.

step53wp.jpeg


Step 6:


Next, hit ctrl-J again to get a new layer. With that new layer selected, go to Edit>Transform>flip horizontal. The change that layer blend mode to lighten and hit ctrl-E. Here is my result so far.

step67qv.jpeg


Step 7:


To color your design, hit ctrl-J to get a new layer, with that layer selected, go to Filter>Blur>Gaussian blur. Put the radius to 3.0 then hit ok. After that hit ctrl-B to open the color balance, then color it in as you wish. You can change the color layers blend mode to whatever you want because you get different results with each blend mode. here is my result with my color balance set with the top silder all the way over to the red, the middle slider all the way over to the megenta, and the bottom slider set all the way over to the blue, and my blend mode set at Pin Light.

step71xc.jpeg


That's it. You can play around with pictures of people, other designs, anything you want. You imagination is your only limit here. Enjoy.

Cut and Replace people in Photoshop - Play Surgeon

In this tutorial I will show you how to be a surgeon in PS!


There are two parts to this tutorial. Cutting away the skin, and replacing the insides.


-----------------------------------------------------------------------------


The first part - Cutting, and adding depth.


Step 1: Open your image in Photoshop, choose any image you like. The pictures I'll be using for this tutorial can be found here, and here.


Step 2: Grab the lasso tool, and make sure the feather is set to 0. Start cutting out part of the image, and make it look as though the flesh was ripped apart!


screen1.jpg


Step 3: Hit CTRL+J to add the selection to a new layer. Right click on the new layer and go to blending options. Apply an inner shadow, bevel & emboss, and color overlay. Use the settings below, make sure to use a color a bit darker than the skin color for the inner shadow.


screen2.jpg

screen3.jpg

screen4.jpg


It should look something like this:


screen5.jpg


Step 4: Now grab the burn tool, and apply some burn gently around the edges, make sure the main layer (body layer) is selected. Experiment with this, here is my result.


screen6.jpg


There you have it, the tutorial for cutting and adding depth. There are a ton of variations and ways to use this, just experiment and practice.


-----------------------------------------------------------------------------


The 2nd part - Replacing the insides


Step 1: Open up your image in PS, and move it to the image with the cut by dragging it and dropping. Adjust the brightness/contrast of the layer to match the image you're using it for.


Step 2: CTRL+CLICK on the cut-away layer from step 3 of the first part of this tutorial, and make sure the chipboard layer is selected. It should select the portion that u cut away, but in the chip image.


screen7.jpg


Step 3: Go to select>inverse and then go to edit, cut. This will delete the unneeded portion of the chip image. Next, add an inner shadow. Right click on the chip, and select blending options. Use these settings or similar.


screen8.jpg


That's it! You can play around with everything and get a totally different result, just have fun doing it!


Here is my finished result.

finished.jpg

Making selections in Photoshop using the Pen tool

Here I will teach you to make selections in Photoshop using the pen tool. If you have any questions, just ask.

Step 1: Open your image in Photoshop, and get the pen tool(p).

pentool8vm.jpg

Step 2: Using the pen tool, make an anchor point anywhere on the pic where you plan on chopping it, by left clicking on the spot.

anchorpoint16zm.jpg

Step 3: Make another anchor point where you plan on chopping again, in a spot above, beside, etc. to your last anchor point.

anchorpoint21we.jpg

Step 4:Now click somewhere on your line, to make an anchor point on the line. Then, holding down ctrl, drag it till it fits in place. You can make multiple anchor points on the line for precision fitting.

anchorpoints37oq.jpg

Step 5: Continue the procedure until you've selected the entire thing, then right click and hit "make selection". Then you're done:D

select0xh.jpg

Changing eye color in photoshop - Quick and easy

Here is a short tutorial on how to change eye color using photoshop. This tutorial is very basic and can be done by almost anyone.

Start:


Finish:


First, open up your image in Photoshop, and zoom in on the eye(s) you wish to color.

NOTE: A quick way to zoom in and out, hold down CTRL and press the =/+ key to zoom in, or the -/_ key to zoom out.

Now, select your paint brush and choose a size appropriate for your image. Next, adjust your hardness. I keep mine about 30% for this.


Next, hit Q or click the Quick Mask button(circled in red below) to go into quick mask mode. From here, color your eye in with the paintbrush selected in the 2nd step.


Now, go back to standard mode by hitting Q again, Everything but the eye should be selected.


To select the eye, go to Select>Inverse, or hit SHIFT+CTRL+I.


Now, create a layer from the selected portion by hitting CTRL+J. When you have created this layer, and have selected it, hit CTRL+B to bring up the color balance. Play around with the colors till you get what you like. Color balance isn't the only way to edit it, now that you have a layer from the eye, you can edit it any way you like.